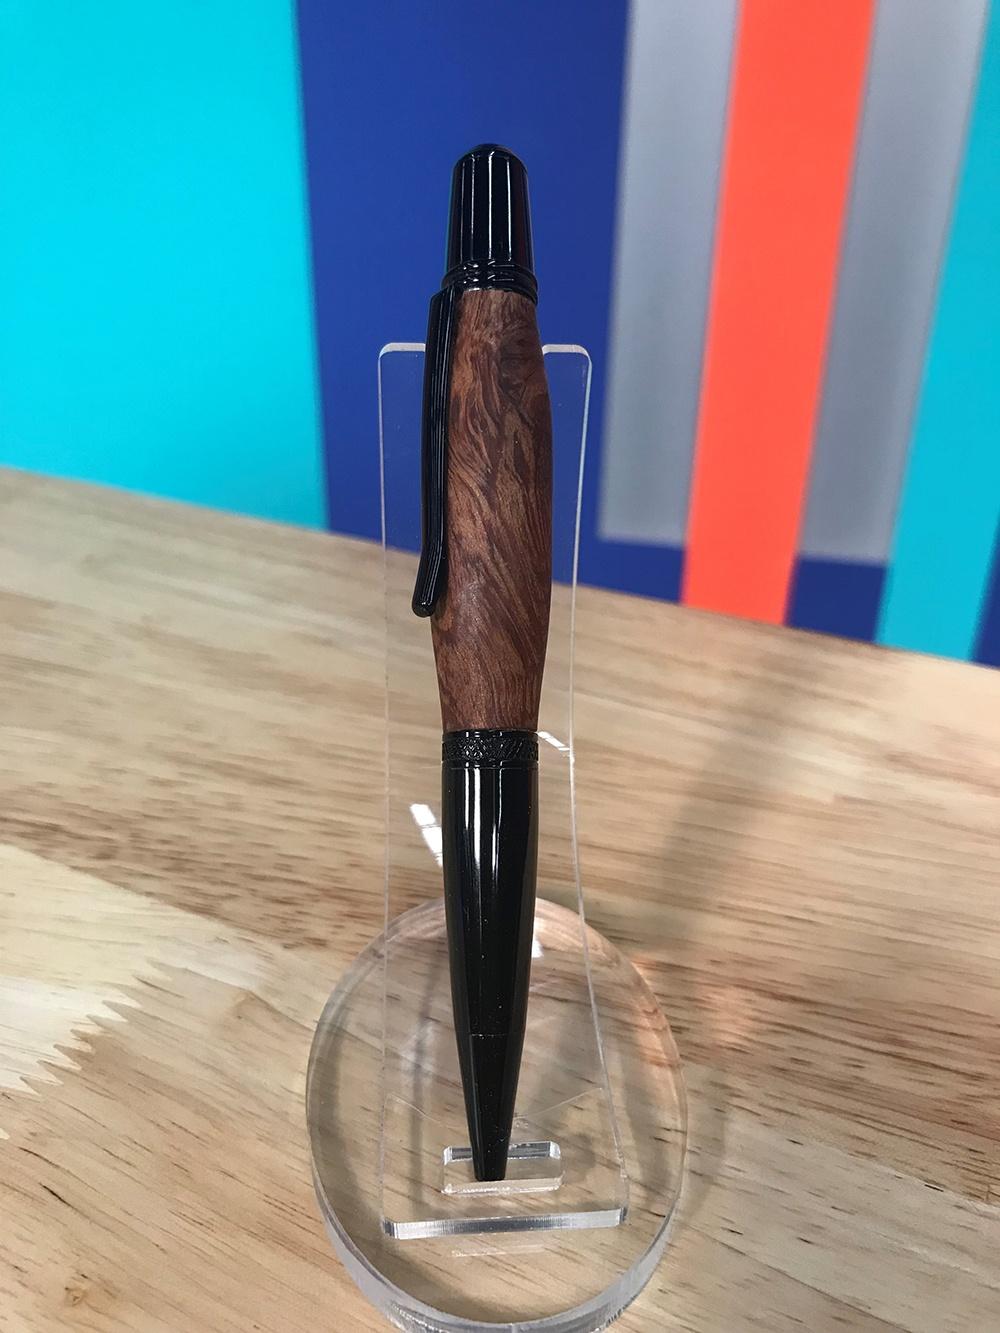
Jerry Urban, LuLu Creations

Sierra Pen

Materials
- 7mm pen mandrel
- 2-pc bushing set
- Drill bit – 27/64"
- Barrel trimming sleeve
- Universal trimming kit
- 2-part epoxy glue or insta-cure glue

Instructions
1. Preparing the blank:
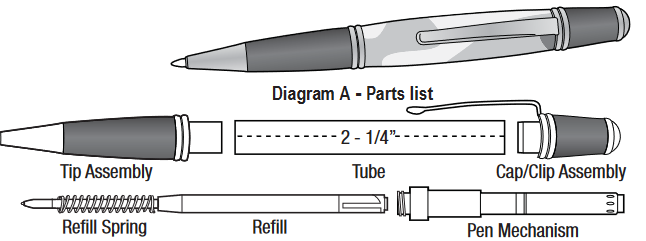
• Prepare a master blank of at least 5/8" square. Cut to the length of the brass tube (add 1/16" for trimming)
• Drill a 27/64" center hole through the blank.
NOTE: Sand the tube with 220 grit abrasive for better adhesion.
- Glue the tube in the blank.
- Spread the glue over the tube; insert the tube into the blank with a twisting motion to spread the glue evenly.
- Center the tube inside the blank.
- Square the ends of the blank using a 7mm barrel trimmer with the adapter sleeve.
- Mount the sleeve over the shank.
- Trim the blank down flush with the brass tube.
2. Turning the blank:
- Mount 7mm spacer bushings on the mandrel, followed by the tip bushing; wide end first.
- Insert the blank.
- Follow with the cap bushing, narrow end first.
- Mount spacer bushing to fill the space to the threads on the mandrel.
- Screw on the lock-nut hand tight.
- Bring the tailstock in snug to the mandrel and tighten the lock-nut for turning.
- Do not over-tighten the lock nut, it may damage the mandrel.
- Turn the blank down close to the bushings.
- Follow with abrasives until the barrel diameters are flush with the bushings.
- Finish with your choice of polish.
3. Assembly:
- NOTE: Line up finished parts according to diagram ‘C’.
- To avoid damage to components when assembling, use vise with covered jaws
- Press clip assembly into the barrel.
- Thread the mechanism down (without the refill) into the large opening of the tip assembly.
- Insert the upper cap/clip assembly over the mechanism, place the entire pen into the pen press.
- Press in to close the gap to the center band.
- Unscrew the upper barrel assembly, insert the refill with screw mounted into the lower end. Screw back the upper end to engage and close the gap.
- The pen is now ready to operate; twist clockwise to open.